Client Quickstart
Set up a client to connect to an Excalibur server.
This quickstart assumes that a server is already set up.
Installation
- Windows
- macOS
- Linux
- Android
- Progressive Web App (PWA)
The Windows client can be obtained as an .exe installer.
- Download the
.exeinstaller from here. - Double-click the
.exefile to begin installation. - After installation completes, Excalibur should open automatically.
The macOS client can be obtained as either a .dmg file or a zipped .app file.
- Disk Image (
.dmg):- Download the
.dmgfile from here. - Double-click the
.dmgfile to open it. - Drag the Excalibur application into the Applications folder.
- Download the
- Zipped Application (
.zip):- Download the zipped
.appfile from here. - Extract the downloaded
.zipfile to obtain the Excalibur application.
- Download the zipped
Double-click the Excalibur application to launch it.
Due to Apple's security policy, you might see a notification that "Apple could not verify "Excalibur" is free of malware".
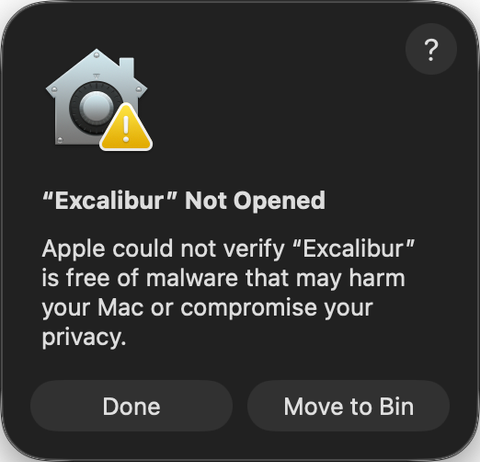
You will need to manually allow the app to open. On recent macOS versions, this can be done by following these steps:
- Open System Preferences > Privacy & Security.
- Scroll down until you see a message like "Excalibur was blocked to protect your Mac."
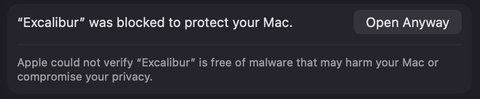
- Click "Open Anyway". You might need to enter an administrator's password.
- Excalibur should open.
Subsequent launches should not need to repeat this process.
The Linux client can be obtained as either a .deb file or an .AppImage file.
- .deb
- .AppImage
- Download the
.debpackage from here. - In the same directory as the downloaded file, run
wheresudo apt install ./<file>.deb
<file>is the name of the downloaded file. - Start Excalibur by running the command
in a terminal.excalibur-electron
The Android client is an Android app in the form of an .apk file.
- Download the Android app from here; you should now have an
.apkfile. - Copy the
.apkfile to your Android device. - Install the app on your Android device.
- Do note that you may need to enable installation from unknown sources on your Android device in order to install the
.apkfile.
- Do note that you may need to enable installation from unknown sources on your Android device in order to install the
It is recommended to disable the installation of unknown sources on your Android device after installing the app.
The PWA distributable is simply a zip file containing all the web assets to run a PWA.
- Download the PWA distributable from here.
- Extract the contents of the zip file to a folder of your choice. It should contain a
distfolder. This is the PWA.
By running a HTTP server and serving the files in dist, you can access the PWA. For example, using Python, you can run
python -m http.server 8080
within the dist folder to serve the files. Navigating to http://localhost:8080 should bring you to the PWA.
The above Python command is not safe for production use. It is only for trying out Excalibur via a PWA.
Onboarding
Upon opening the app, you will be greeted with the following screen:
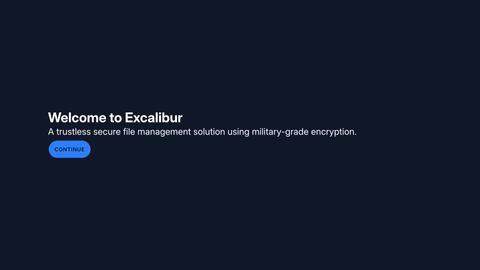
Click on "Continue".
At this stage, one of two things might happen. If you started the server on localhost/127.0.0.1 with the default port (i.e., 52419), you should be automatically redirected to the login page. What happened is that the app autodetected a running Excalibur server instance on the host and thus set the server URL automatically. In this case, you can go straight to creating a new user.
Otherwise, you should see a screen that allows you to enter a server URL:
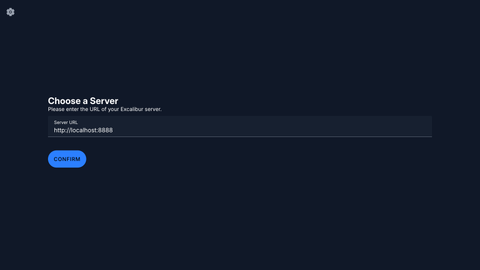
Enter the server URL in the provided text field. For example, if you are running the server on your local machine with port 8888, enter http://localhost:8888 and click "Continue".
Creating a User
You should now see a login screen.
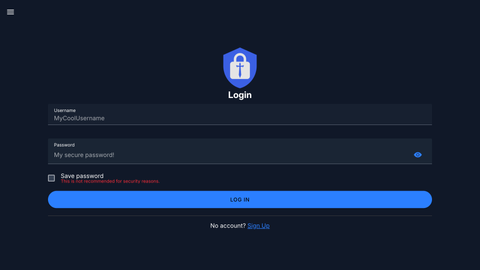
Click on "Sign Up". You should now see this page.
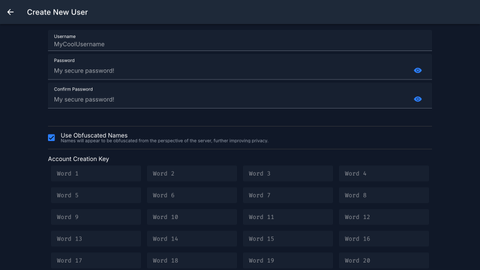
Enter your desired username and password into the fields. You can optionally choose to enable or disable obfuscated names. If enabled, this means that the names of the files on the server would be obfuscated, making it harder for others to guess what files you have stored. The names of the files on the client-side remain unchanged.
To finish creating the user, you will also need to provide the Account Creation Key (ACK) Mnemonic of the server. The mnemonic can be retrieved by running the command
excalibur user ack
on the server.
You can just copy and paste the 24-word mnemonic into the first text box. This is especially convenient if you are running the server on the same machine as the client.
Once you have entered the mnemonic, click "Confirm". If the ACK was entered correctly, you should see a new pop up titled "Vault Key":
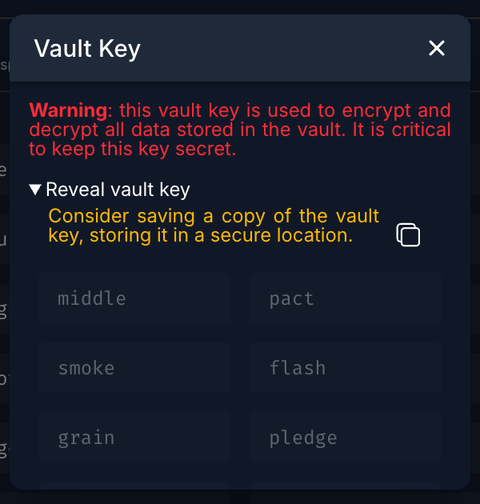
This key is the actual key used to encrypt your data. Actually, what is shown is the vault key mnemonic, similar to that of the ACK mnemonic that you entered. It is extremely unlikely that you will need to use this key, but it is recommended to keep it in a secure location.
Please scroll down on the pop-up to see the full vault key mnemonic. You can click on the copy button on the right of the warning at the top to copy it to your clipboard.
Once you have saved this key, click the "X" button to close the pop up. You should be redirected to the files explorer.
Congratulations! You have successfully set up a client to connect to an Excalibur server. Move on to learn what the interface looks like.